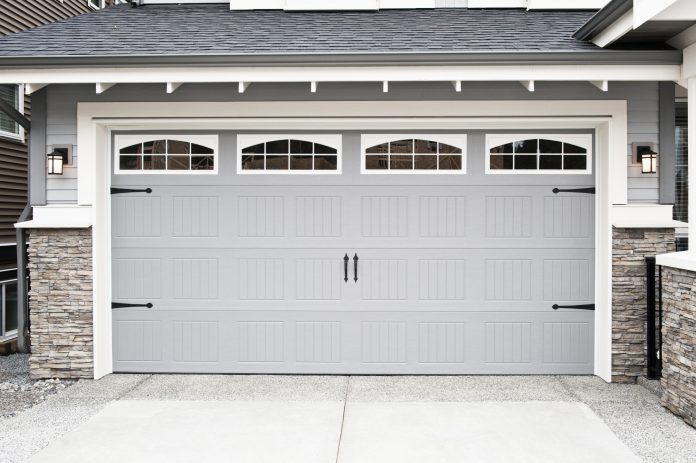
Most of us don’t pay much attention to our garage doors, especially when they are working as expected. But if your garage door goes wonky, you might end up in a tight spot. Usually, if your door needs repairs, spring replacements are on the cards.
Whereas replacing extension springs might sound like an easy job, it may not be so if you’re not mechanically inclined. You may need to hire an expert like Metro Garage Door Repair in such a case.
If you’re up to the task, here’s a walk-through of our 15-step guide to repairing your garage door.
Tools And Materials You Need
- A pair of metal C-clamps
- Pliers
- Wrench set
- Ladder
- Rubber mallet
- Mounting brackets
- Pair of extension springs
- Pair of pulley cables
Secure The Door
Your safety comes first. With the garage door open, tighten your C-clamps on either side of the door’s track, as high and close to the door as possible, just beneath the bottom rollers, as a safety precaution.
Conduct A Visual Inspection
Inspect your garage’s metal tracks for signs of dents or crimps. If you notice damaged spots, use a rubber mallet to pound the tracks back to shape. Badly damaged tracks would call for a replacement.
Check the mounting brackets that secure the tracks to the garage wall. While at it, examine for any loose nuts or bolts, and ensure they are all tight.
Once you’re done, remove your clamps, and with the door closed, inspect the upper horizontal section of the tracks for similar damage.
Lubricate And Clean
The key to keeping your garage door functional for longer is regular maintenance. Keep the entire system well lubricated- springs, bearing plates, armbar, lock, and keyhole.
Be sure to clean out the tracks by removing dirt and grime that could prevent the efficient operation of your door. A concentrated household cleaner does a solid job of getting rid of hardened grease. Wipe down the rollers as well.
Set The Door On The Ladder
With the door open, unplug its opener. If need be, seek help to lower the door onto the ladder you set under it after pulling the safety release cord. Secure the door with the pair of C-clamps as in the first step.
Examine Your Extension Springs
Typically, your garage door sports two extension springs at the top of your door, one on each side. If your door appears to open or close slower than expected, one or both springs might be shot. Check for rust, wear, and fraying on your springs to determine if they need replacements. It’s advisable to change both to ensure they provide equal tension so that your door glides smoothly.
Remove Worn Or Damaged Extension Springs
Use a wrench to loosen the pulleys before sliding out their bolts to release the spring on either side. Free the spring from the safety cable to remove it.
Order For Replacement Springs
The weight specifications of an extension spring are usually indicated with a color code. But, manufacturers may use different codes to specify the tension or pulling weight. Refer to the code on the end of your springs when ordering, and be sure that the old and new springs are a perfect match.
Replace Your Springs
Reverse the removal process by threading the safety cord through the spring before reattaching it. Attach the pulley to the opposite end of the spring and reattach it by popping back the bolt and tightening it with a wrench. Repeat the process for the other side.
Make Minor Adjustments
If the door appears loose or doesn’t seem to stay up or completely open after spring replacement, adjusting the S-hook helps. Secure the open door using clamps, disconnect the springs and move the hook forward to increase tension on either side.
Inspect The Pulley Cables
Rust, fraying, and wear are enemies of your garage door system. Check the pulley lifting cables for such potential signs. If they appear defective, a replacement is your best bet to ensure your door doesn’t become a hazard.
Secure The Door
Unplug the opener once the door is open, and secure the door with your clamps as you did in the first step. You don’t need a ladder under the door in this case, as your springs are not stretched, making it safe to proceed to the next step.
Remove The Pulley Cables
Unhook the S-hook after marking its position. Then, pop the pulley cable loop out. Unscrew your pulley with a wrench and uncoil the cable. Do the same on the other side of the door.
Fit The Pulley Cables
Fasten the pulley cable to the attachment bracket before threading it through the remaining notches in the bracket. Most brackets sport three holes for this purpose.
Secure The cables To Your Door
Thread one end of the cable through the pulley fitted to your extension spring and the other end over the door pulley. One end of the cable should attach to the S-hook, while the other secures to the bottom of your door. Repeat the process for the opposite side.
Final Check
Go over your work to ensure the cables, pulleys, and extension springs are in place. If everything is up to snuff, plug in the door opener and remove the clamps.
When To Seek Professional Help
Contacting a professional repair technician is a viable option if you can’t make heads or tails of the repair process. Besides, such repair work can be time-intensive, and if you’re not fully conversant with the process, you could make costly errors. Hiring a professional can save you time and gets the job done right without relying on guesswork.


